
Drop Installation Guide
Follow these simple steps to install your artwork safely and correctly.
Step 1: Unbox Carefully
Open the package and gently remove the artwork. Place it flat on a table.
Tip: Lay down a soft cloth first to protect the glass beads from scratches or damage.
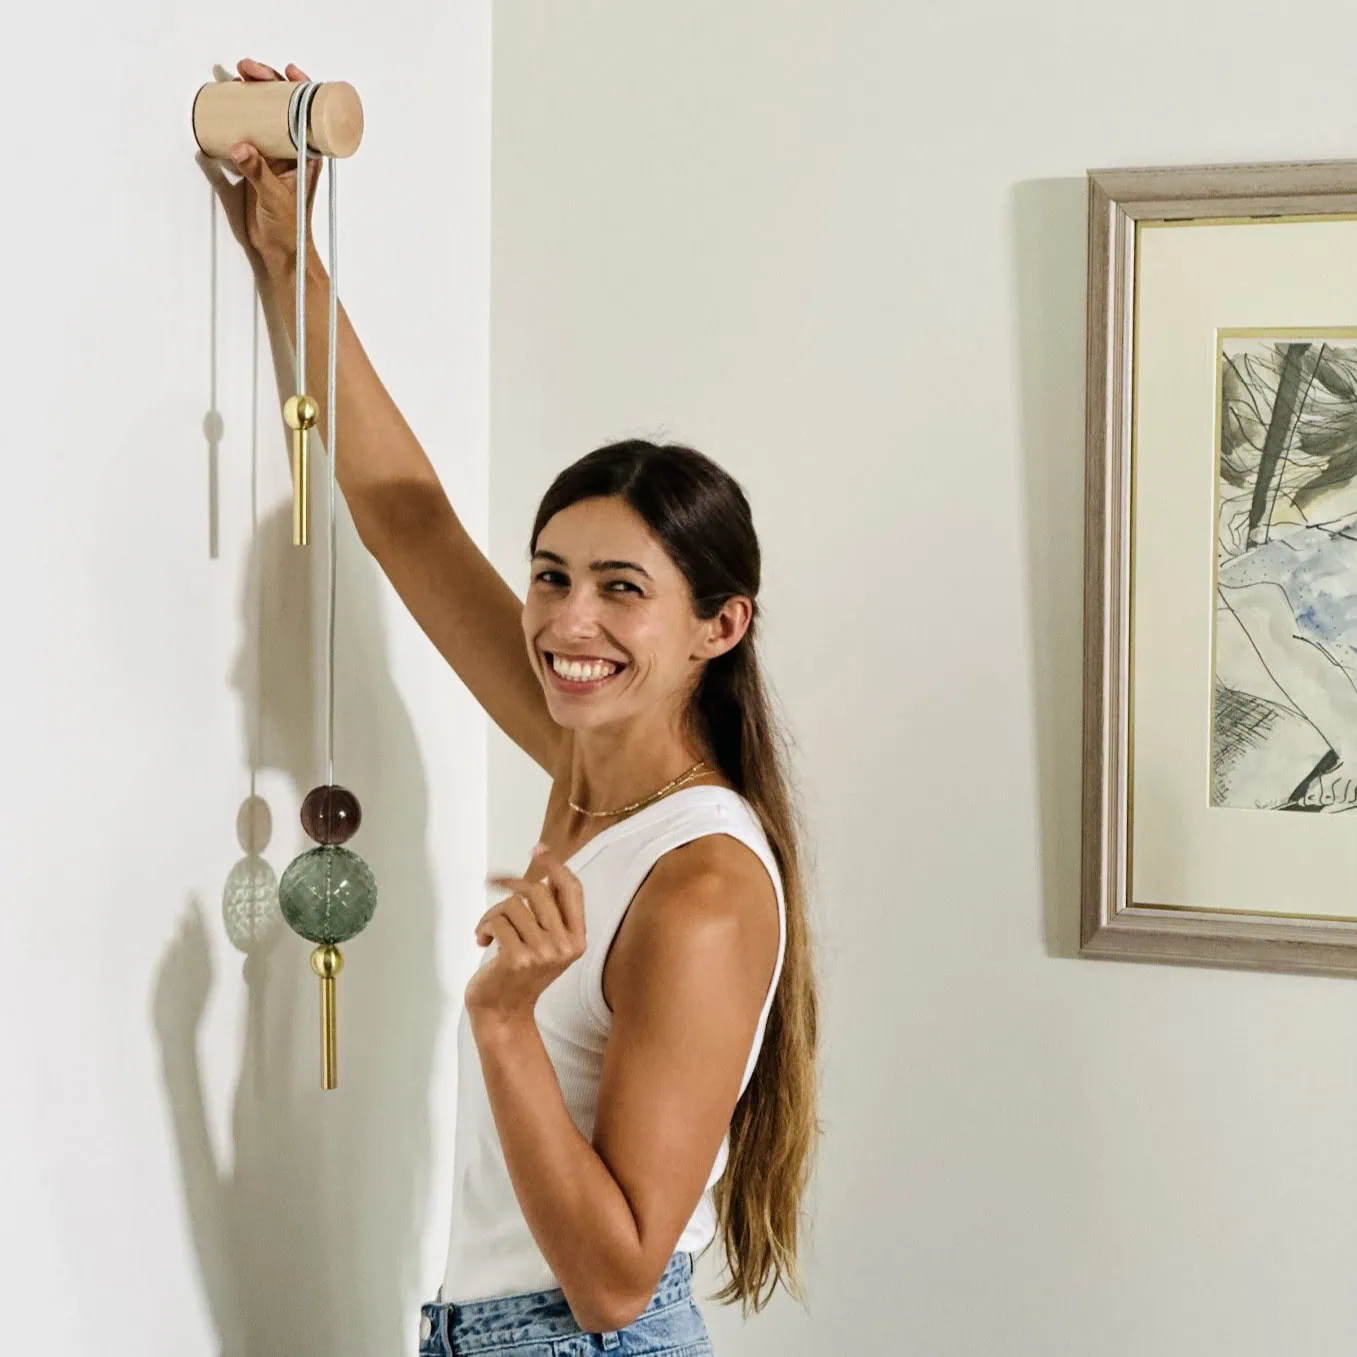
Step 2: Locate the Wall Bracket
Find the metal bracket inside the wooden sleeve included in the packaging. Choose the spot on the wall where you want to hang the artwork.
Important: Leave a minimum of 3.5 feet of unobstructed space below the installation point to allow proper clearance for the product.
Step 3: Mark the Holes
Hold the bracket against the wall and mark the screw holes with a pencil.
Important: Make sure the hole in the metal pipe is facing upward (as shown in the image below). This is key for proper alignment.
![]()
Step 4: Drill and Insert Anchors
Drill holes at the marked points, then insert the provided wall anchors. Wipe away any dust and pencil marks.
Step 5: Mount the Bracket
Screw the metal bracket to the wall using the included screws. Make sure it is secure and level.

Step 6: Attach the Wooden Sleeve
Press the wooden sleeve firmly onto the wall bracket until it fits securely in place. Align it so the hole in the pipe is pointing upward.

Step 7: Secure and Straighten
Insert and tighten the top screw to connect the wooden sleeve to the bracket.
Step 8: Mount the Rope
Place the rope in the recessed area of the wooden sleeve. Wrap it tightly so it won’t slip, then straighten the rope so the artwork hangs cleanly and evenly.

Step 9: Adjust the Height
Once the artwork is securely installed, adjust the height of the glass elements. Use the opposite side as a counterweight for balance.
Tip: To match the arrangement shown on our website, use the measurements indicated in the drawing below.

Replacing elements
Exchanging the wooden sleeve
Swapping glass beads
If you have any questions or need assistance with your installation, please don’t hesitate to reach out. We’re always here to help.